Stampin’ Royalty : Use Your Punches

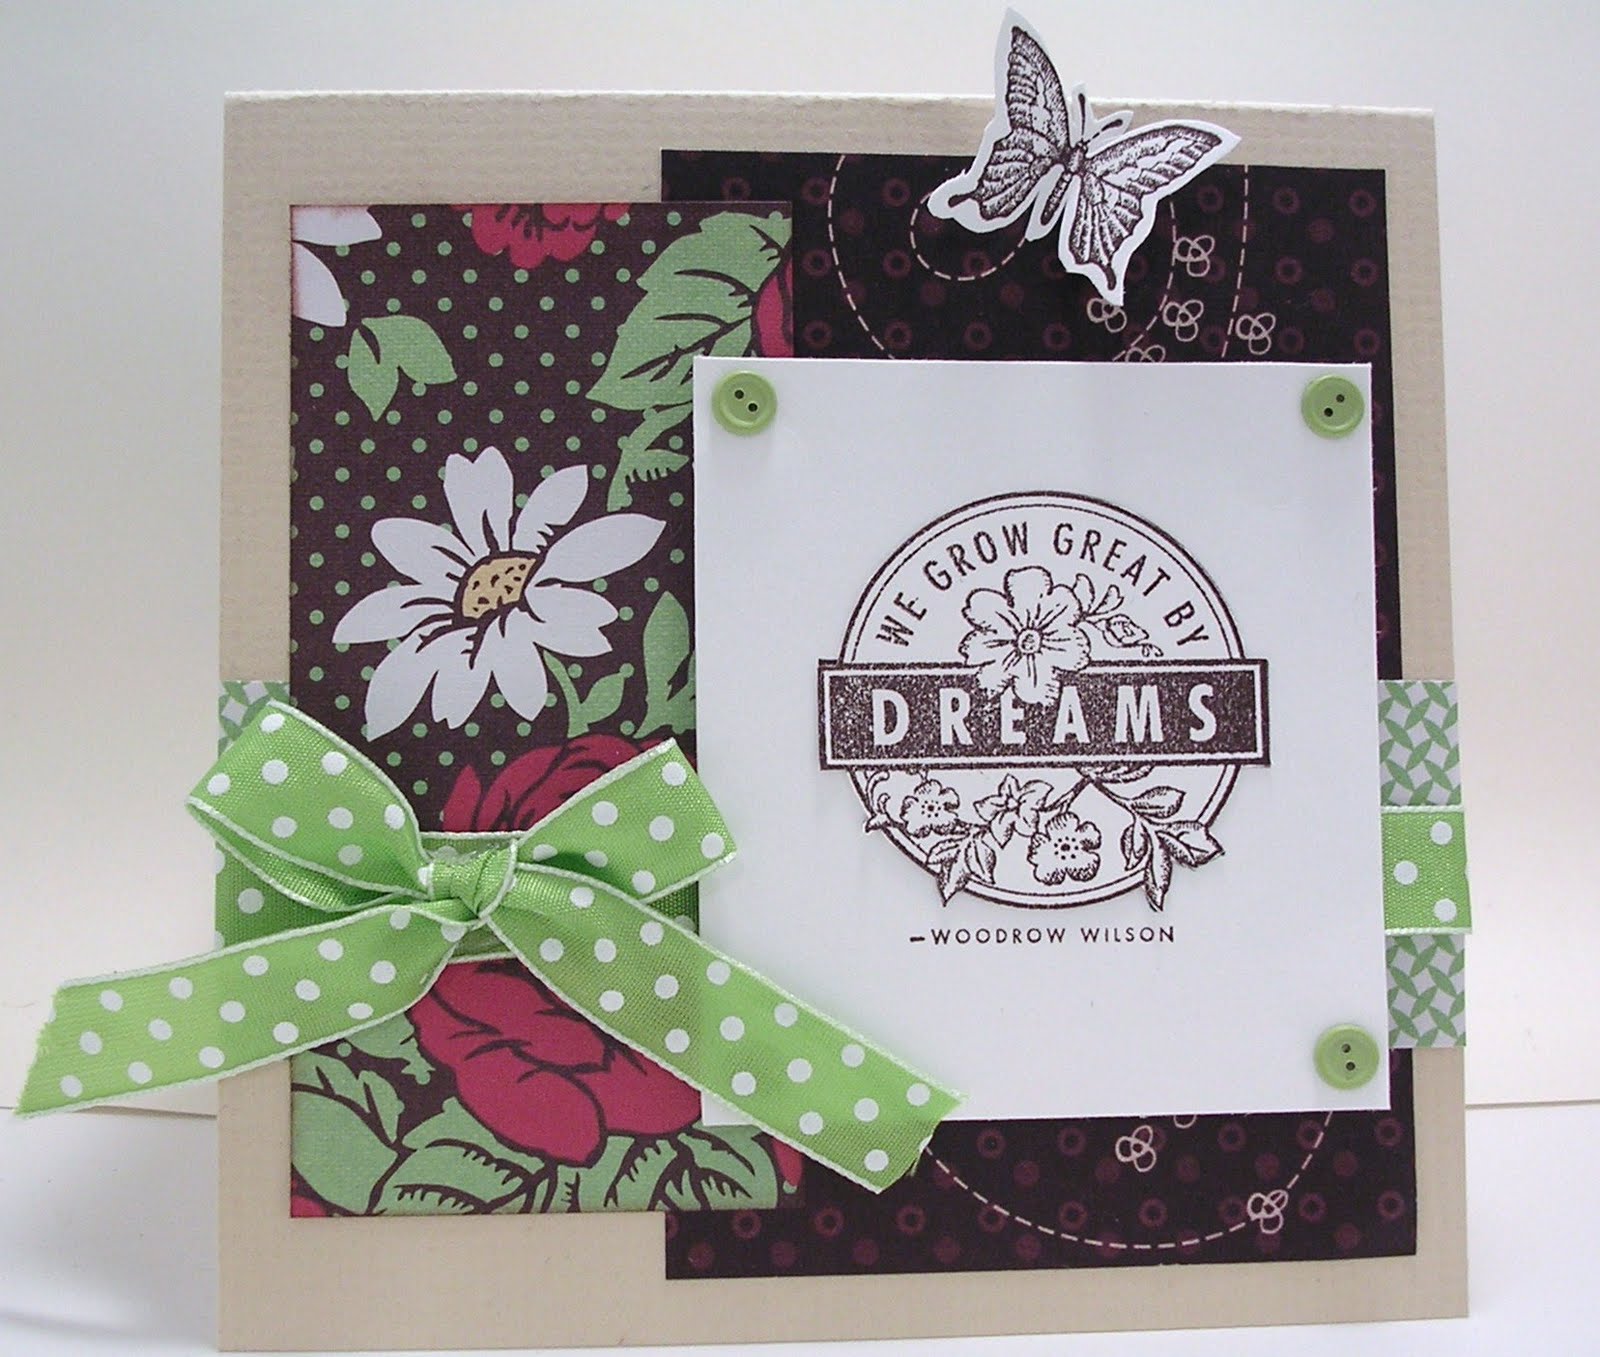
This week’s challenge over at Stampin’ Royalty was to create a project using your paper punches. I don’t have a big supply of punches to choose from; most of my punches are border punches with a few basic shapes.

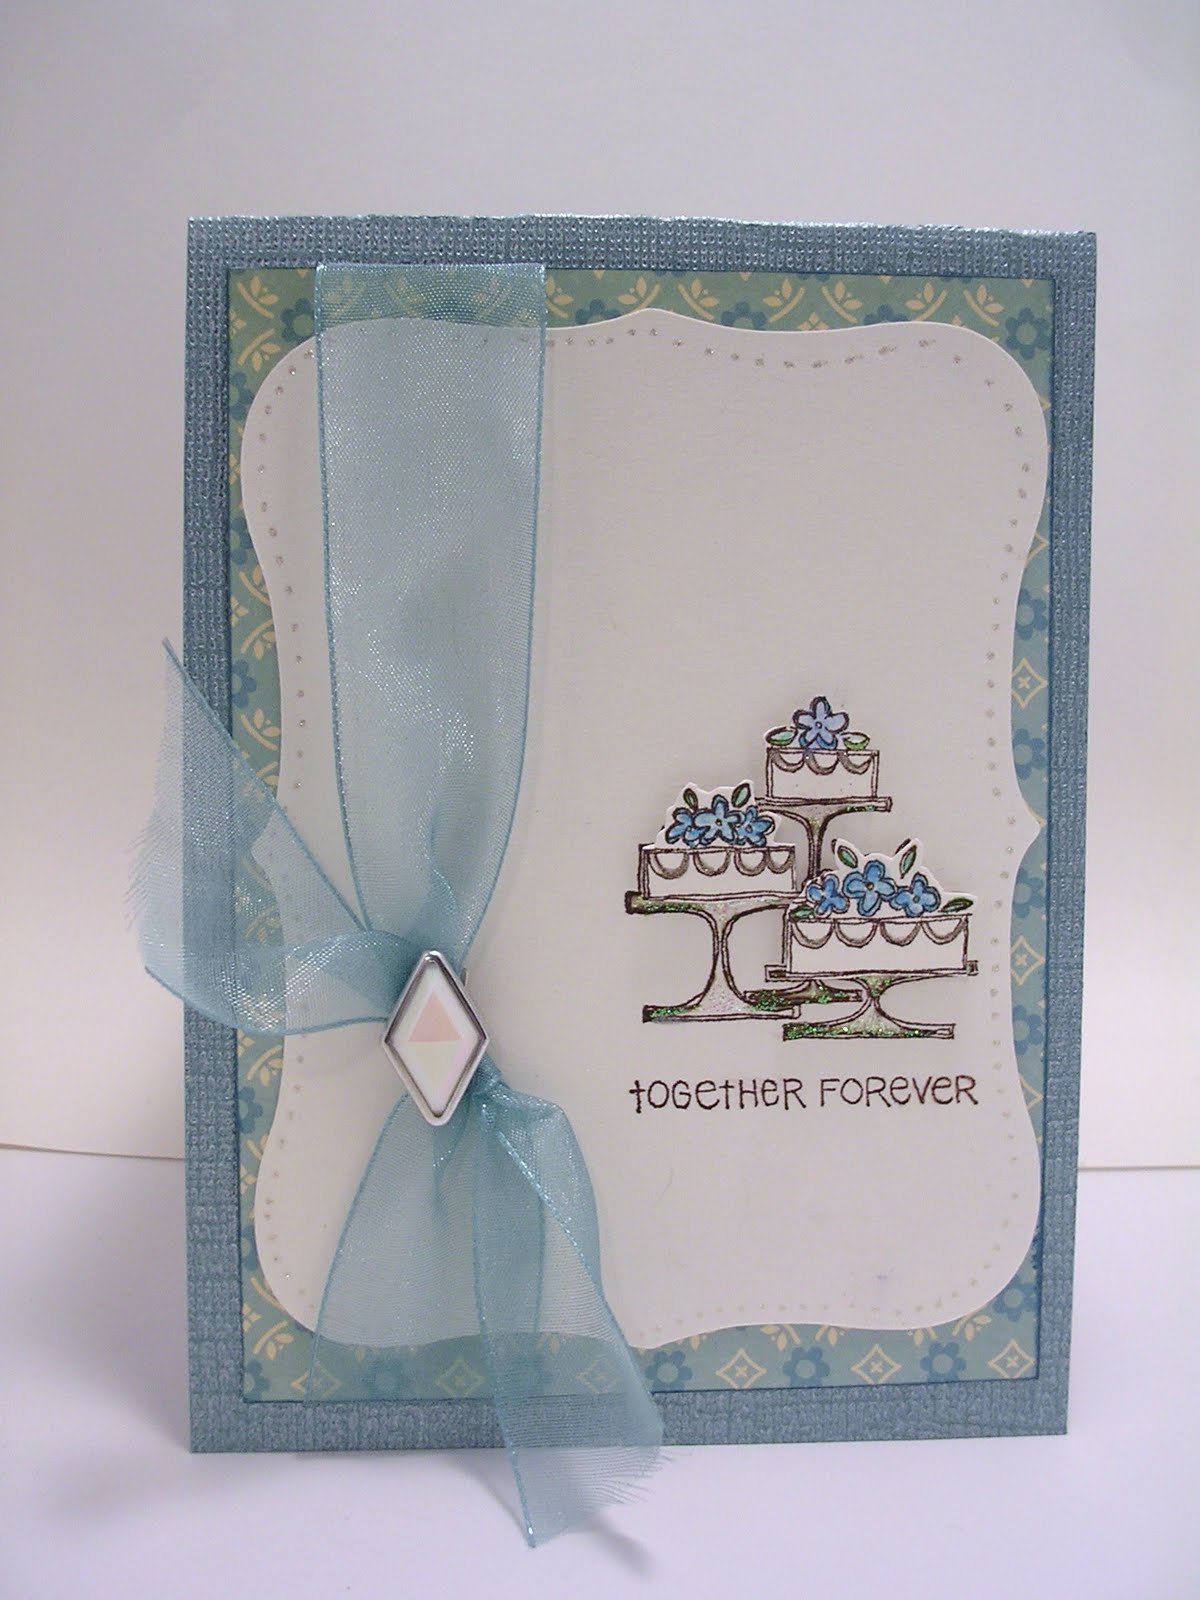
The punches I used for this card are: an embossing border punch and a balloon shape punch from Martha Stewart Crafts, my Crop-a-Dile, a 1-3/4″ Stampin’ Up circle punch, and the small paper punch for the i-Top brad making tool.

To make the lace border, I punched the first border strip, then measured the length of the design. Then I cut off the excess and border punched the opposite side of the paper. The flowers were made with the small i-Top punch, and are folded in fourths. The flower vase is made from the balloon punch. I cut one end off of the balloon shape to make it flat on the bottom. I used the circle punch to create the peek-a-boo window on the card.

Other supplies: Ribbon from Michael’s, Bazzill cardstock and Dotted Swiss cardstock, butterfly and sentiment stamps from Stampin’ Up’s “Dreams du Jour” set. Chocolate Chip and Soft Suede Stampin’ Up inks were also used. I added hand-drawn details with a Stardust pen and Staedler fine line pens.

Thanks for looking!

PageMaps: American Crafts Letterbox Card Contest

Whenever PageMaps has a card contest, I try my best to enter it because I use PageMaps and CardMaps often when I’m working on a layout!

This is the inspiration for the contest, and the goodies up for grabs:

This is the card I came up with! I tried to use as much American Crafts product on my card as possible. I have several papers and elements from their Blue Skies collection, and since the theme of the contest is Spring, I thought that collection would work well with the card and the sketch.
I rotated the sketch, and took out the lower left square to make room for my sentiment. Instead of a separate focal point that’s shown on the sketch, I put a pop-up element in the middle of the four top squares. Everything I used on the card (except for the cardstock base) is from American Crafts.
Thanks for looking!

colourQ #30

This week’s colourQ featured some colors I don’t normally use…all in the same challenge! Lucky for me, I had some new Stampin’ Up! stamps to use for my card this week.

Here’s the inspiration for this week’s challenge…

The white, burgundy and coral were pretty easy to work in, but I had trouble with the artichoke and sage. Overall, I’m very happy with how my card came out!
The stamps are from Stampin’ Up!’s “Chic Boutique” set.
I stamped the dressform three times onto cardstock and colored in the stands with my Stardust pen. I used crystal Stickles to accent the beadwork. Then I stamped three times on the three different colors of cardstock and cut the dressforms out to pop up on top of the original stamped image.
I selected the background paper from Pink Paislee’s Bayberry Cottage Collection.
I stamped the sentiment on white cardstock, double matted it with the two shades of green, punched holes on the left side and threaded some twill ribbon through the tag.
Other supplies I used: Creative Impressions ribbon, Martha Stewart border punch. The inks I used are Stampin’ Up!, staples.
Thanks for looking!

Get Sketchy #36

This week’s challenge on the Get Sketchy blog had me thinking “old school”… Here’s the sketch we played with…

To me, the sketch looked like a cassette tape… “old school,” right? Here’s the card I made!
The supplies that I used:
Cardstock: Bazzill, Stampin Up! and Bo Bunny Double Dot (for the card base)
Letters: Thickers by American Crafts and Making Memories Rub-ons
Stamp: Imaginisce
Other: Ribbon, Black Foam Dots, silver colored pencil
The hardest part of this card for me was making the cassette tape look real. I had some plastic leftover from a package, which I used to make the tape “window.” The details on the tape were drawn in by hand with the mini tape on the robot stamp for a guide. I punched the holes with my Crop-a-dile.
Thanks for looking! 🙂

Sassy Lil’ Sketches – April 14th card sketch

This is my first entry for a Sassy Lil’ Sketches challenge, and I based my card on their April 14th card sketch:

My card uses mini Jenni Bowlin papers and also a piece of paper from Prima’s Blooming Retro collection, Creative Impressions ribbon, Making Memories button brads, and two stamps from Stampin’ Up!’s “Dreams du Jour” stamp set. I originally tried to color in the stamped image, but decided that I liked it better without the extra color, so I stamped another and glued it on top of the colored one.
Thanks for looking!

CPS #164

Here’s this week’s sketch over at Card Positioning Systems (CPS):

I didn’t change much on this sketch when I made my card. I made a mini-card envelope for the front that would be the perfect size to enclose a gift card. However, the only gift-card I had was an old Reward Zone card…hope it’s enough to get the idea across!
The papers I used are from Prima’s Blooming Retro line. The sentiment rub-on is from KaiserCraft. I’m not sure where the flower, brad and ribbon are from other than from my supply stash!
Thanks for looking!

Stampin’ Royalty #16

This is my first entry for a Stampin’ Royalty challenge, and this week it was a sketch challenge:

I flipped the sketch, and kept my card fairly simple:
I’ve been playing around with my Stampin’ Up! starter kit stamps, and I decided to use this stamp from the “Fun & Fast Notes” set. I Stickled the cake stands, and popped up the cakes with a foam square underneath each one. I accented the die-cut shape with my Stardust pen, which is also what I used to color in the trim on the cakes.
My supplies:
Cardstock: Core’dinations Gemstones & Bazzill
Patterned paper: Cosmo Cricket (Material Girl mini paper)
Brad: Karen Foster
Stamp & Ink: Stampin’ Up! (Fun & Fast Notes/Chocolate Chip ink)
Pen: Sakura
Ribbon: ??
As always, thanks for looking!

Get Sketchy #35 – Fan-tastic!

Here’s the sketch for the latest Get Sketchy challenge:

And here’s my card!
I’ve been playing with making my own flower embellishments lately, particularly with fan folding paper.
The half-circle shape for this week’s challenge made me think of a Chinese or Japanese fan, so I decided to make that the theme of this card.
I folded a 2″ x 12″ strip of paper and made it into a fan for the left side of the card. I punched a 1″ circle to glue to the back of the fan to keep it in place. I glued a large glitter brad to the center of the fan accent.  To continue the Asian theme, I used the other side of the paper for my card background, and stamped fans as a pattern on the paper.
Then, I typed and printed the sentiment, and mounted it onto cardstock.
I threaded a Chinese coin charm with twine and stapled it to the front of the card. The inside of the card reads “Congratulations” in the same typeface and mounting as what’s on the front.
Thanks for looking! Here’s my supply list:
Cardstock: Bazzill
Patterned paper: Prima (from the Tea & Silk collection)
Glitter brad: Imaginisce
Clear stamp: aMuse
Ink: Stampin’ Up!
Other: Chinese coin charm, twine, staples
I didn’t notice until after I made the card that one of the design team ladies had also used a fan-type accent on her card…but I think our ideas and color choices are different enough!

ColourQ 29

This week’s ColourQ was definitely a challenge for me! It was easy finding the paper I wanted to use for this one, but I had the hardest time deciding how much was enough to put on the card. I kept thinking the card needed just one more thing, but when I tried my different ideas, the original seemed to be just fine.

Here is the inspiration for the challenge:

And here is my card!
The colors made me think of citrus fruits, so I picked this paper from KI Memories. I used some Creative Impressions ribbon to accent the custom brad that I made with my i-Top. I chose “get well wishes” from my Stampin’ Up collection…Seeing all the slices of orange, lemon and lime got me thinking of Vitamin C, and that led to a get well card.
Thanks for looking!

Get Sketchy #34 – Good Chemistry

For this week’s Get Sketchy challenge, I designed my card a little bit “outside the sketch.” Here’s the sketch we were given:

I looked at the white space between the hearts, and it reminded me of a flask or beaker, so I came up with this design. The flask is adhered to one side of the card.
I also punched holes, inserted some vellum between the patterned paper and the cardstock to look like bubbles:
 It’s a gate-fold card with this sentiment on the inside:
Patterned paper: Bazzill, Cosmo Cricket (Chemistry collection)
Glitter glue: Stickles (Ranger)
Heart punch: EK Success/Martha Stewart
Letter stickers: Making Memories & Cosmo Cricket
Other: Vellum, twine
Thanks very much for looking!